Tuesday, September 14, 2010
HONEY
The honey came out in different colors and densities. The dark honey sank to the bottom, it is probably mostly blackberry. The lighter honey is a mix of wildflowers throughout the neighborhood.
LOTS of honey
The finished product. About 11 gallons of honey, about 130 pounds worth. Not bad for the first year off of three hives. And the bees are still going strong - we'll probably get another couple gallons from them.
Extraction Step 4
Here Alysia is spinning two frames in the extractor. The extractor is basically a centrifuge that holds two frames vertically.
Extraction Step 3
The next step to cut the wax cappings off of the cells, so the honey will spin out. A serrated knife heated in water is what we used. The goal is to take just the cap off and leave the rest of the wax cell untouched, so the bees can reuse it.
Extraction Step 2
Getting ready to EXTRACT!
The time has come to extract honey - an extremely exciting day for us. In this picture Jim and me (Alex) are getting the hives ready for extraction. The first step is getting the bees out of the honey super. In the picture I am holding the super up (which probably weighed 40 pounds) while Jim put a bee escape on below it. A bee escape is basically a one-way door for the bees. In the picture it is a hole in the center of the piece of plywood.
Friday, July 23, 2010
Swarm Honey Super
The swarm got a super too. We didn't expect to get any honey this year, but it is looking very promising.
Supers!
In this picture you can see that we have added honey supers to each hive (the smallest box at the top of the hive). Below the honey super is a queen excluder, which is a screen that has holes big enough for the worker bees to pass through, but too small for the Queen. The idea is to keep the brood in the bottom two "brood boxes" and keep purely honey in the honey supers.
Monday, June 28, 2010
A little taste...
The bees have been building bridge comb on the lid and filling it with honey. You want to scrape off this wax to encourage them to build on the frames. But it meant that we got to have a first taste of honey.
Hives 1&2
Yesterday we checked the two established hives, 1 & 2 (the swarm is #3). They're almost ready for a honey super. Probably in the next week, we'll put one on each hive, which means we'll most likely get to harvest some honey this fall!
Swarm
So, it's been a while since we last posted and a lot has happened... About a week after we got the two hives established, a friend called and said that she had a swarm of bees in her backyard on an apple tree. We weren't about to pass up free bees, so we went over and go them and set up another hive.
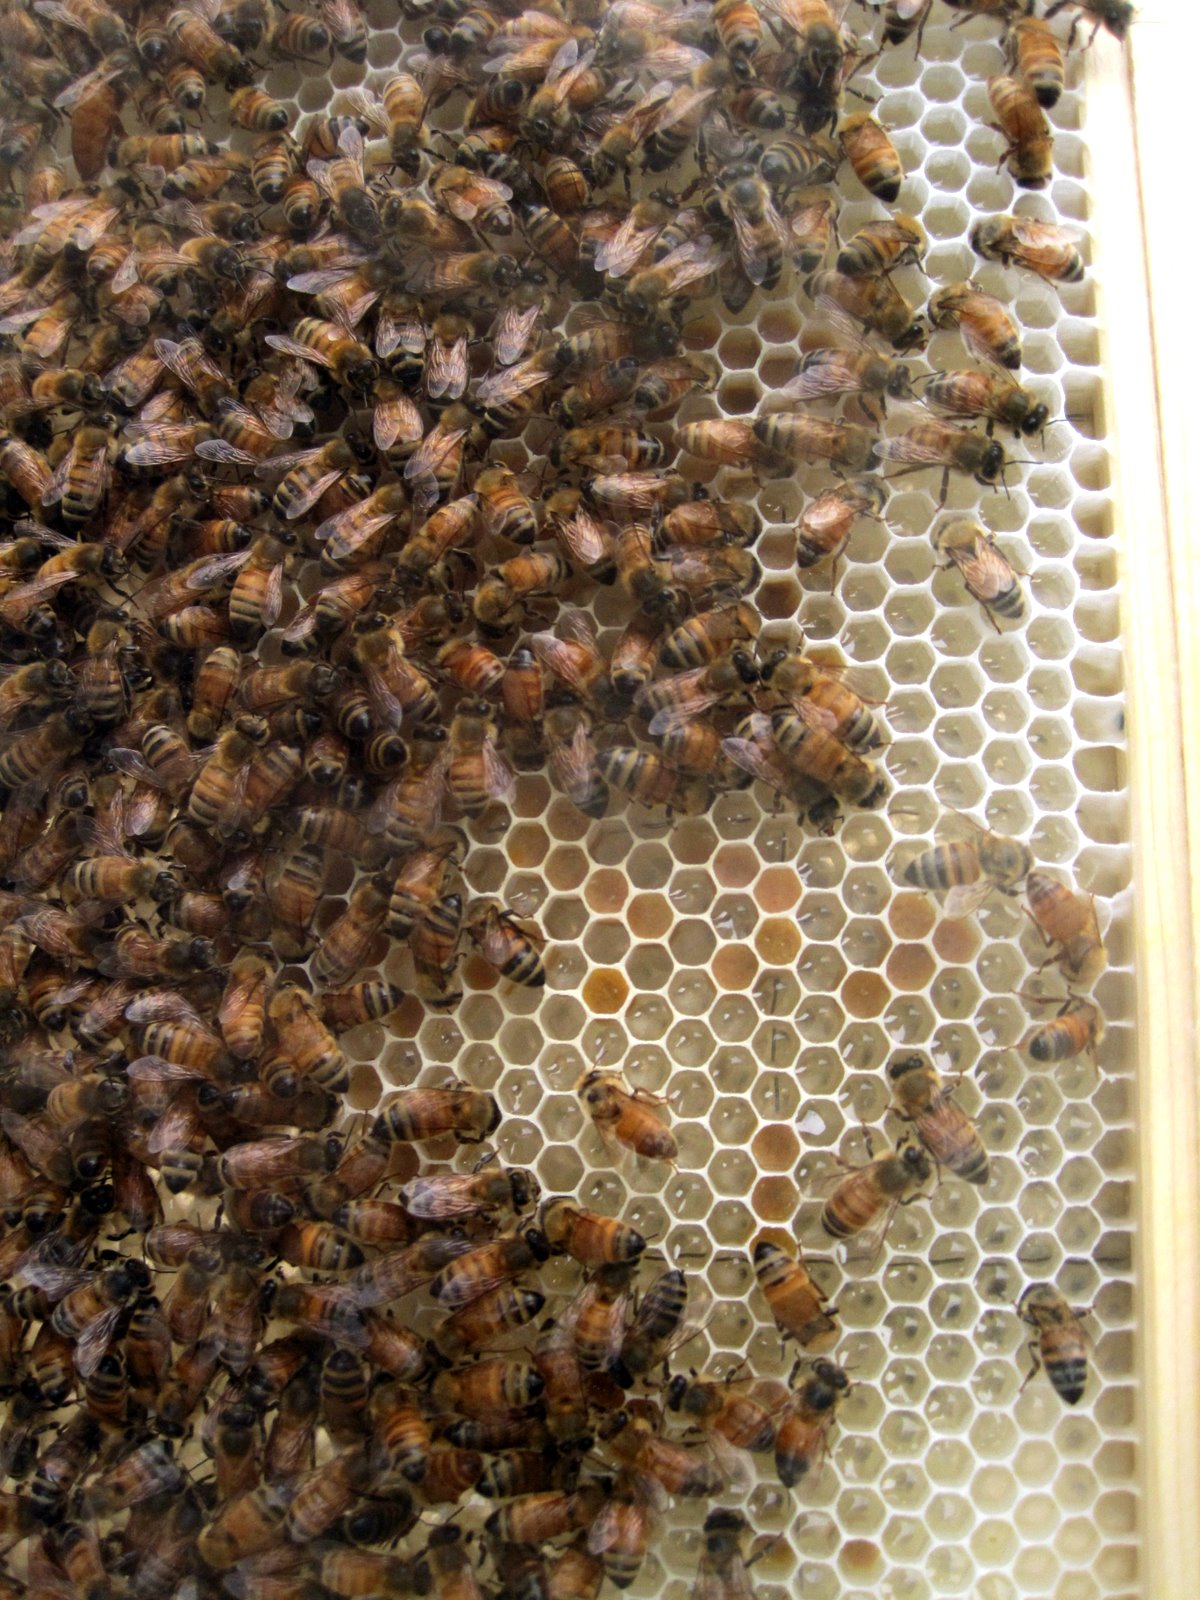
Shown here is the swarm, about the size of a basketball. The queen is probably in the center of the ball. They generally won't sting when they're swarming, but I put on my suit...
Swarm
The swarm is in the hive. We left the hive at the tree overnight, so the stragglers could get in. Then we moved them to our house.
Swarm
Here is the swarm at it's new home, below our bathroom window. It's not the most ideal spot, because it doesn't get too much sun, but it works and they seem happy.
Sunday, May 2, 2010
Bee Development

Bee development stages as seen in fig 4-9 of Honey Bee Biology and Beekeeping by Dewey M. Caron. I think that we saw larvae between the 4th and 5th instar. The were curled almost in a complete "C" and were beginning to fill the entire cell. After this stage the larval cells are provisioned with food and capped with wax, and the larva go through their pupal stage (mummy-like one above). It only takes the worker bee 21 days to change from a tiny egg to a full grown bee. During this process they increase their size 1500 times! We did see some capped cells so maybe we have some baby bees on the way.
Busy bees
We looked at the bees on Saturday to see what they have been doing. They have been busy! There were two frames of comb built and about half of a third. Some cells had pearly white larva curled up in them.
Monday, April 26, 2010
Building comb!
We checked on the bees on Saturday and the queens had been released from their marshmallow prisons. They were also beginning to build comb! We were such proud apiculturists. This moment is not impressively captured in the picture above. We didn't want to disturb them, so right now there is just this birds-eye view. But if you look closely and use your imagination you will see the orderly hexagonal comb waiting for the queen to lay an egg in each cell. Or so we hope.
Thursday, April 22, 2010
If you lived here you'd bee home by now.
It is helpful for bees to have signs to help them distinguish their hives apart. And to help them feel welcome.
End of the first day
Video of installing the bees
Alex picked up the bees last night around 7:00 and this morning we put them in their new homes. Everything went pretty well. The queen comes in her own little cage inside the bigger bee cage. The queen cage is then hung on a frame in the hive, which gives the workers a chance to get used to her. Normally there is a piece of candy plugging a hole in the queen cage, which the workers slowly eat through to free her. This usually takes a few days. However ours just had a cork, so we quickly improvised, removed the cork and plugged the hole with an old marshmallow. The stuff Alex is putting in the feeder is sugar water.
Tuesday, April 20, 2010
Tomorrow's the big day!
We should get our bees tomorrow! We are both excited and a little nervous. The first and only time I ever installed a colony, a bee stung me in the back of the neck. It swelled up and gave me a nice little hump back- a look only attractive in whales. Of course that was without a full body suit. .. Hum other apprehensions...there are many. Our hives will be visible from the road, only if you stand on the bridge next to our house and stare into the yard, which of course people do. I am worried that someone will complain to the city that they are a nuisance even if they aren't. I know that there are many people afraid of bees, some for a good reason and some not. Ok, only two fears right now- that is sufficient.
Sunday, April 18, 2010
Bee yard
Here's the little exclosure to separate the the bees from the chickens. The two hives will obviously sit on the cinder blocks. This fence of chicken wire is two feet tall. Tall enough to keep the chickens out, but not so tall it will disturb the bees' flight pattern.
Friday, April 16, 2010
Painted Hives
The hives are all sanded an painted. Only the outside is painted - the bees will protect the inside of the boxes with propolis (collected from tree buds). Shown here are two complete hives, working from the bottom up;
- The bottom board - where the bees enter the hive
- The brood box - where the queen lays eggs and pollen is stored.
- The brood box - where the queen also lays eggs, pollen is stored and honey is stored.
- A "Western" honey super - where the bees will store honey (for us to collect). To prevent the queen from laying eggs in the honey super, we will install a queen excluder to keep her in the bottom two boxes. Basically this is a screen that only the workers can fit through.
- A Feeder box - which we'll put sugar water into, to give the bees a good start, until the nectar really starts to flow.
- An inner cover.
- Lid.
Subscribe to:
Posts (Atom)